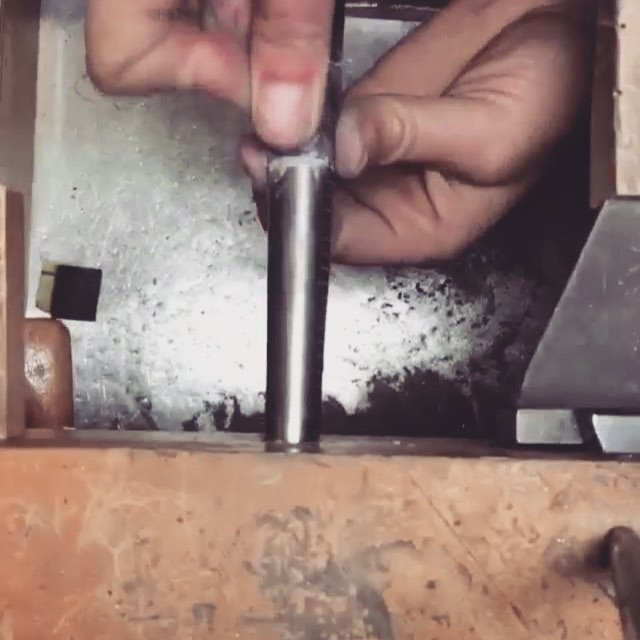
Hey, Corkie here 👋 I’ve been spending a lot of time at my bench lately, filming little tips along the way—I hope you find this one helpful! I made...
More →
Back
Here is some amazing info on determining bezel heights from @marquisjewelryacademy - “We use...
Posted almost 6 years ago
•
2,317 likes
•
79 comments
Here is some amazing info on determining bezel heights from @marquisjewelryacademy - “We use heavy bezels for our work and teach it to our students @marquisjewelryacademy. "Heavy bezel" is used to refer to 1mm thick rectangle wire. I stock 1x2, 1x3, 1x4mm rectangle wire for these from @riogrande.
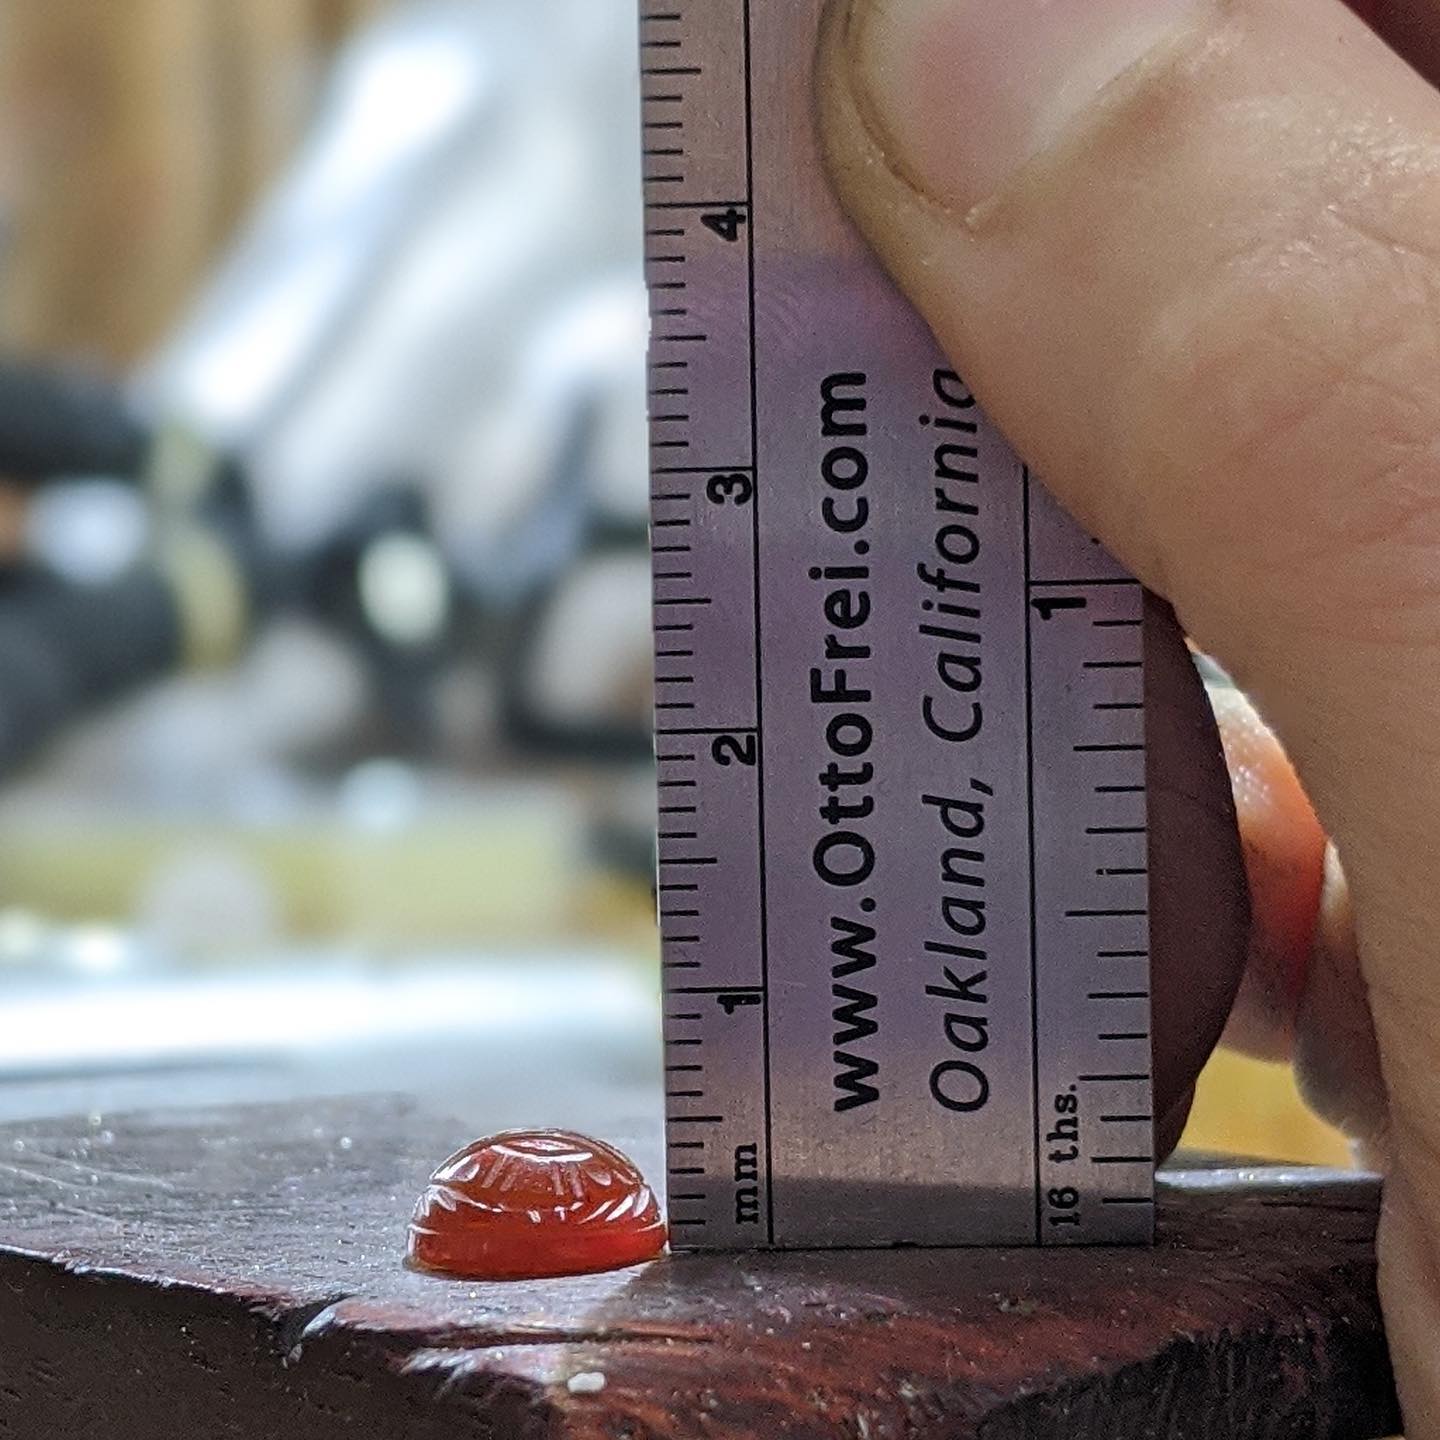
Slide 1: I'm showing an @ottofrei steel ruler squared against my cab on my bench pin. The rise is the height that the stone goes at 90* before arcing away from the ruler towards the dome. I lean down and get my eyes level to read this. The rise is my base measurement & can range between 0.5 - 2.5mm.
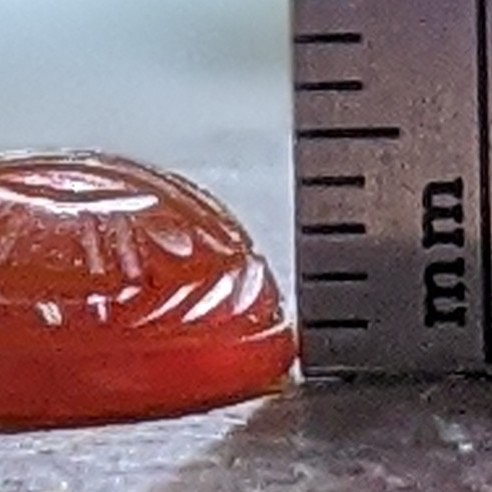
Slide 2: A zoom in of where the cab touches the ruler: approx 0.5mm of rise.
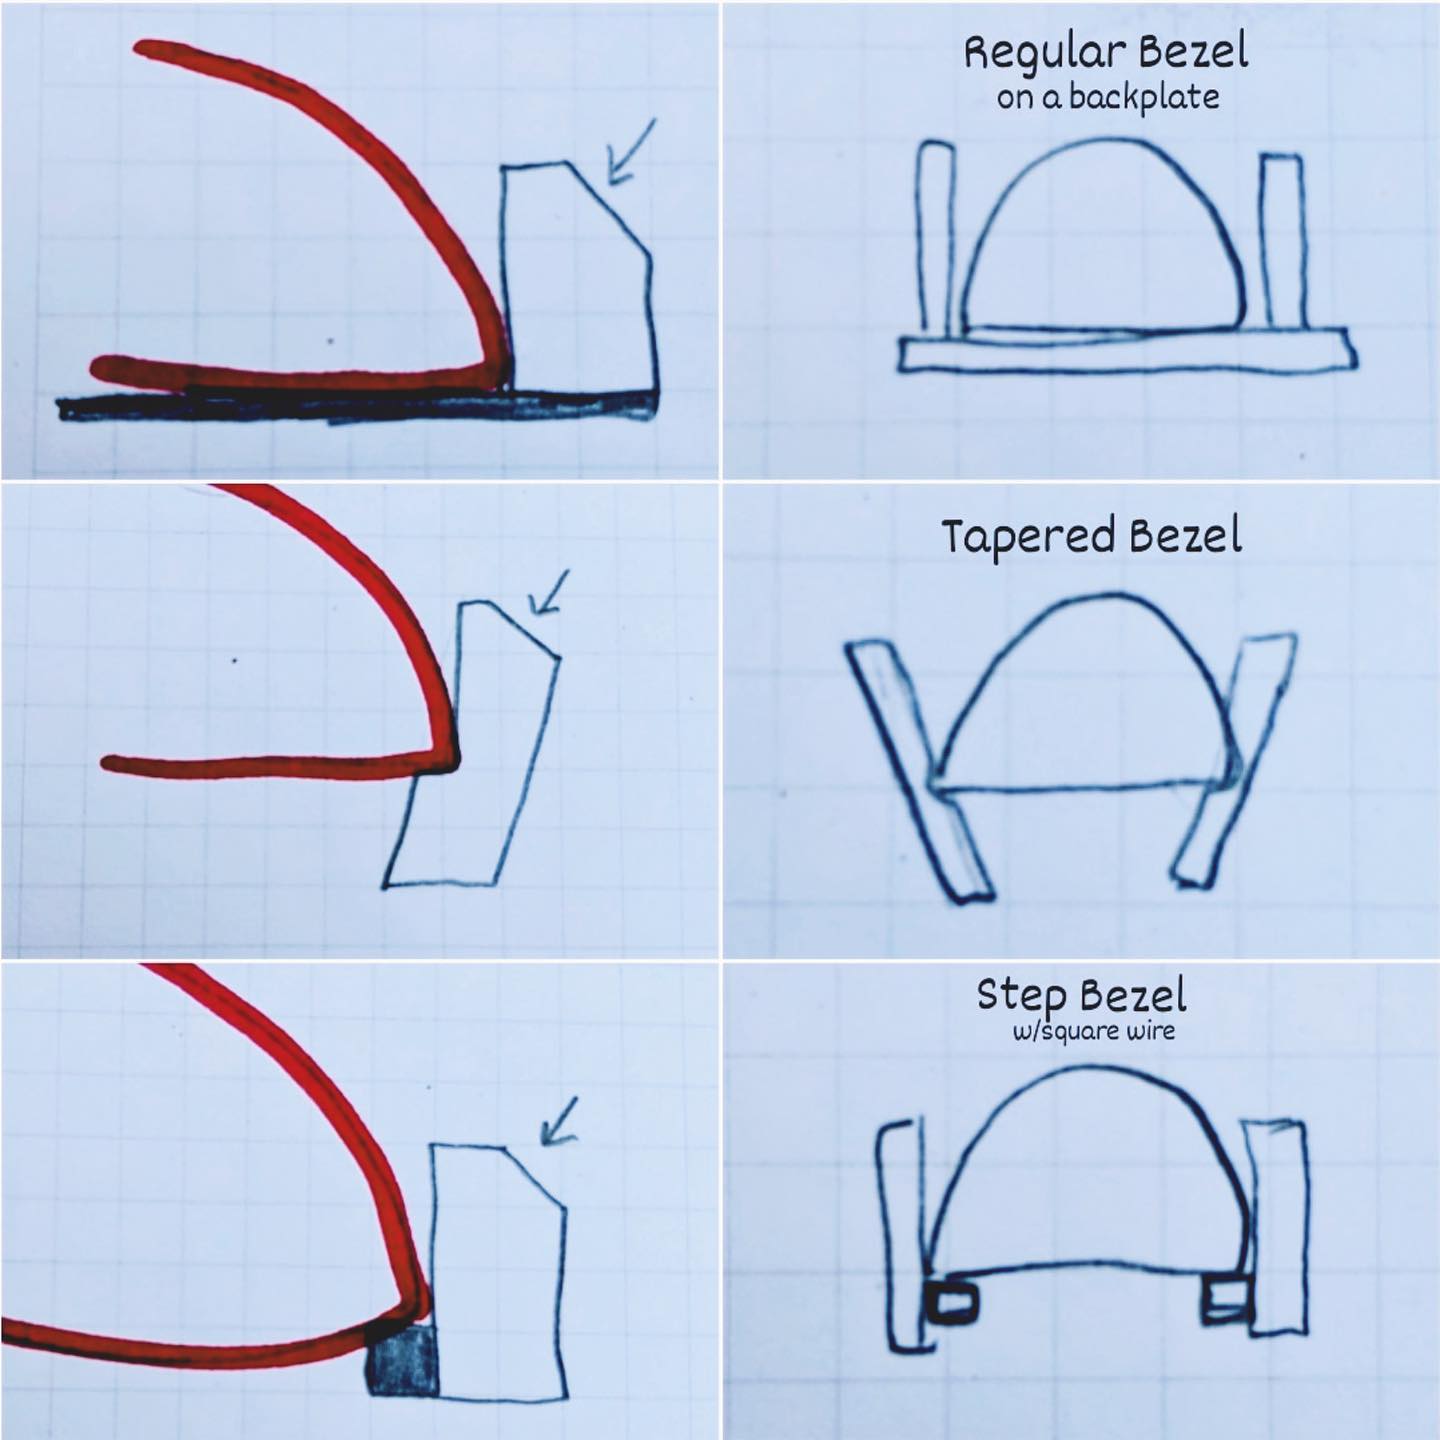
Slide 3: Regular bezel- when you're simply soldering your bezel to a back plate, I use 20g sheet metal.
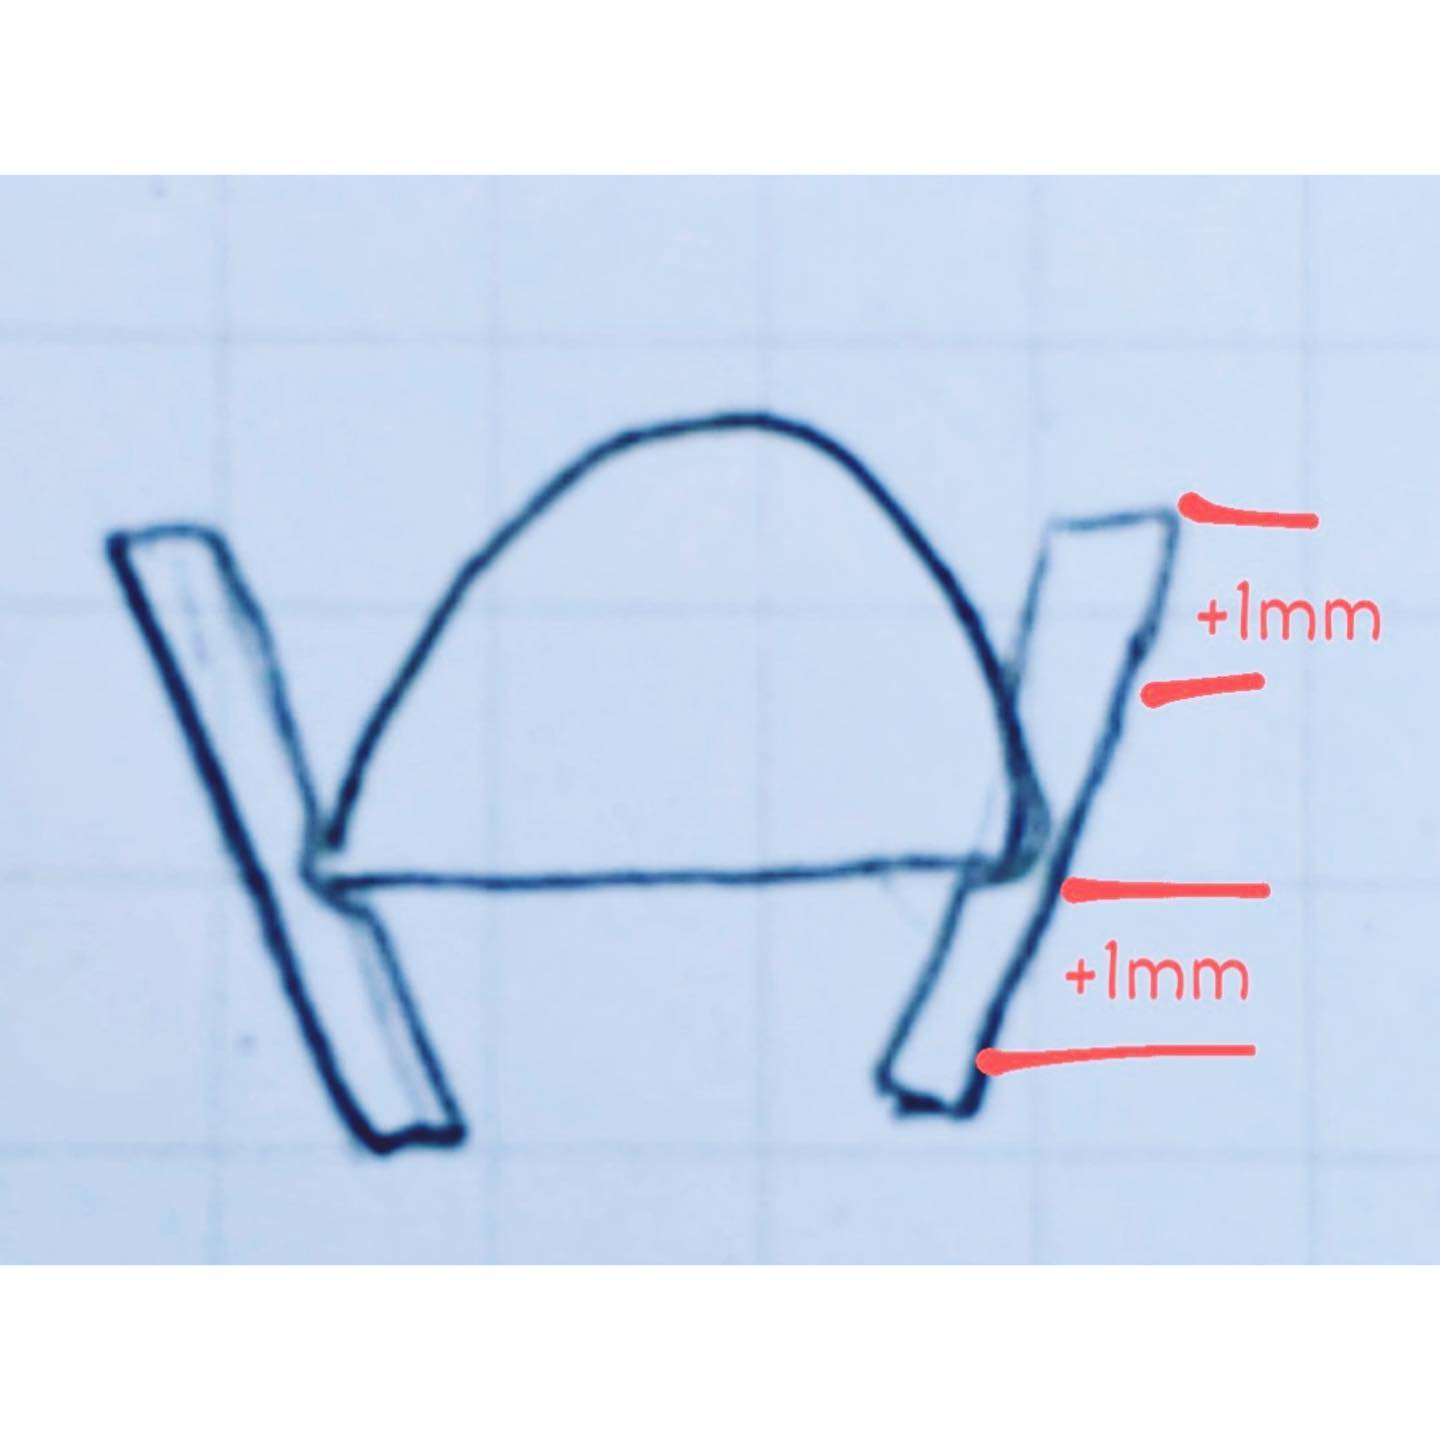
Tapered bezel- used in tandem with a bezel block as a design element or setting faceted stones.
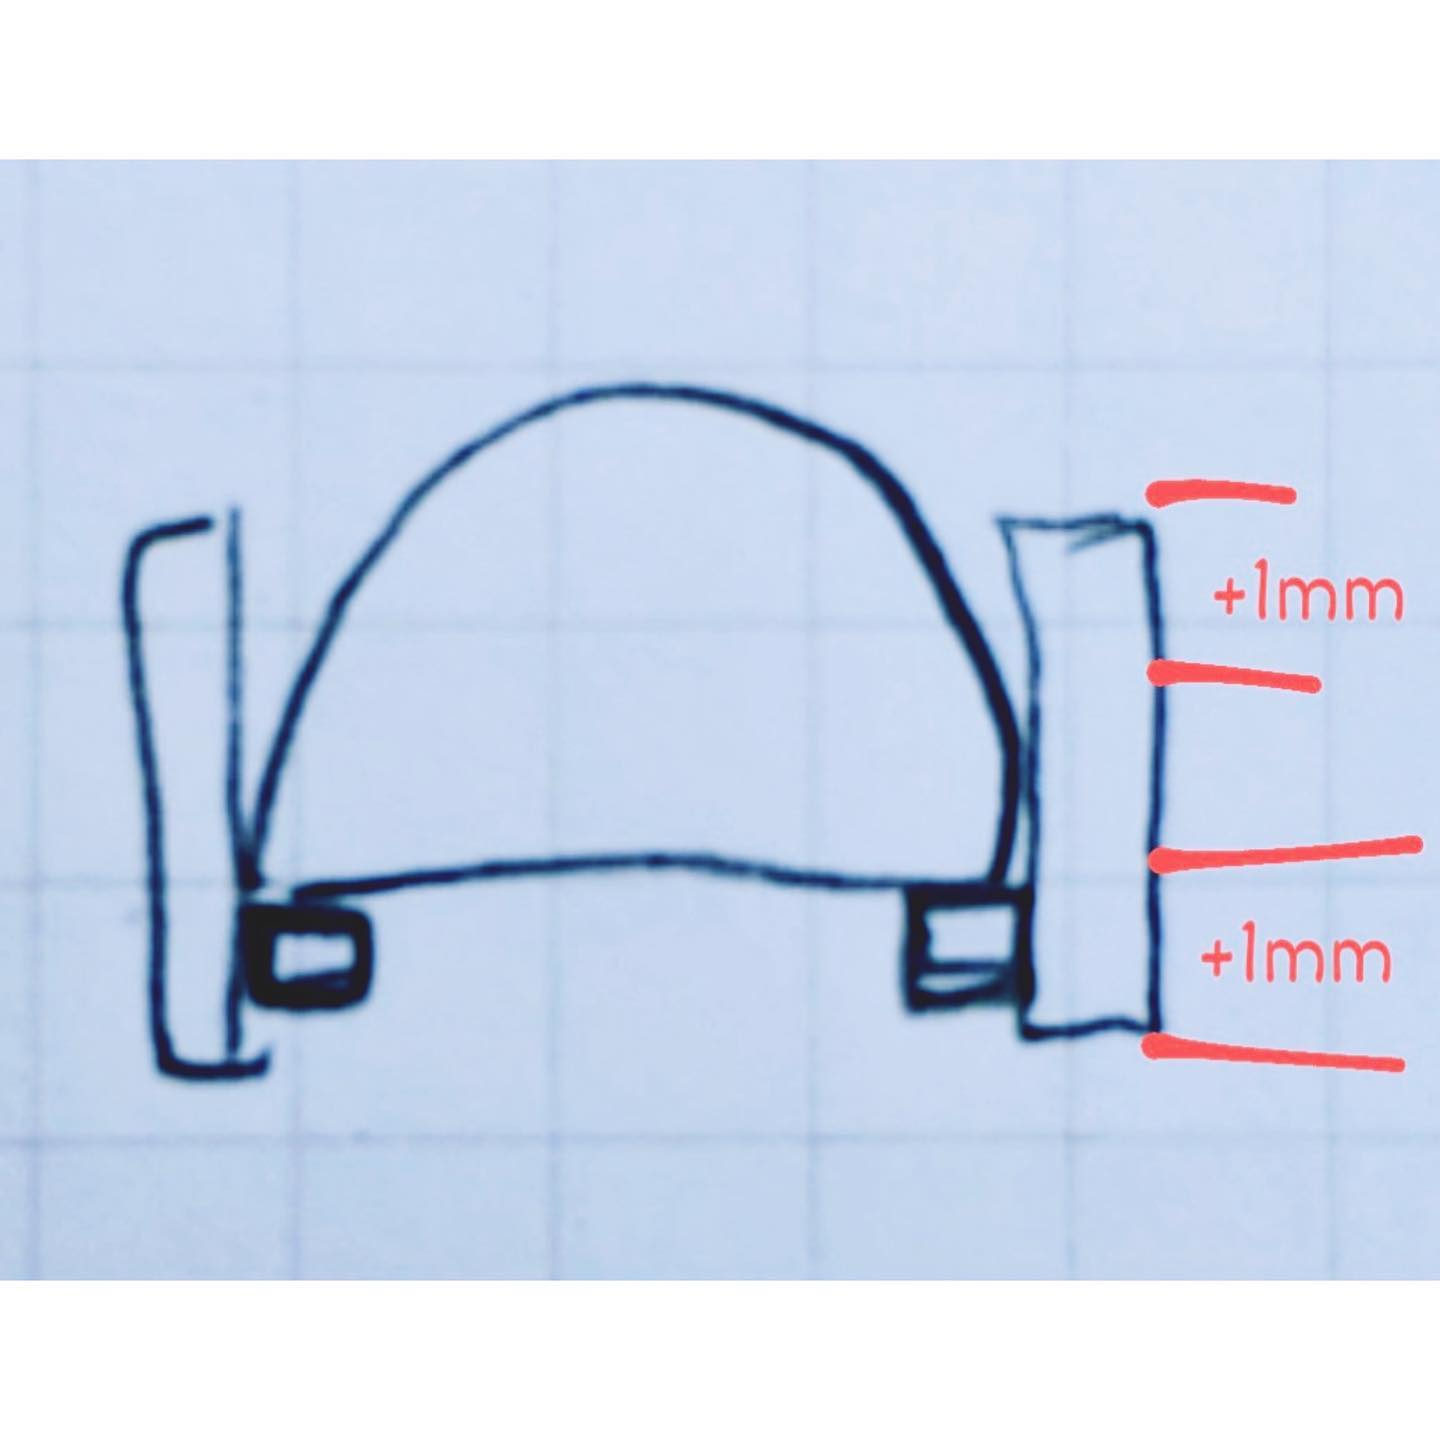
& Step bezel- when there is a square wire soldered to the bottom edge of your bezel, to show off a stone, set a cab with a belly, or to use less metal.
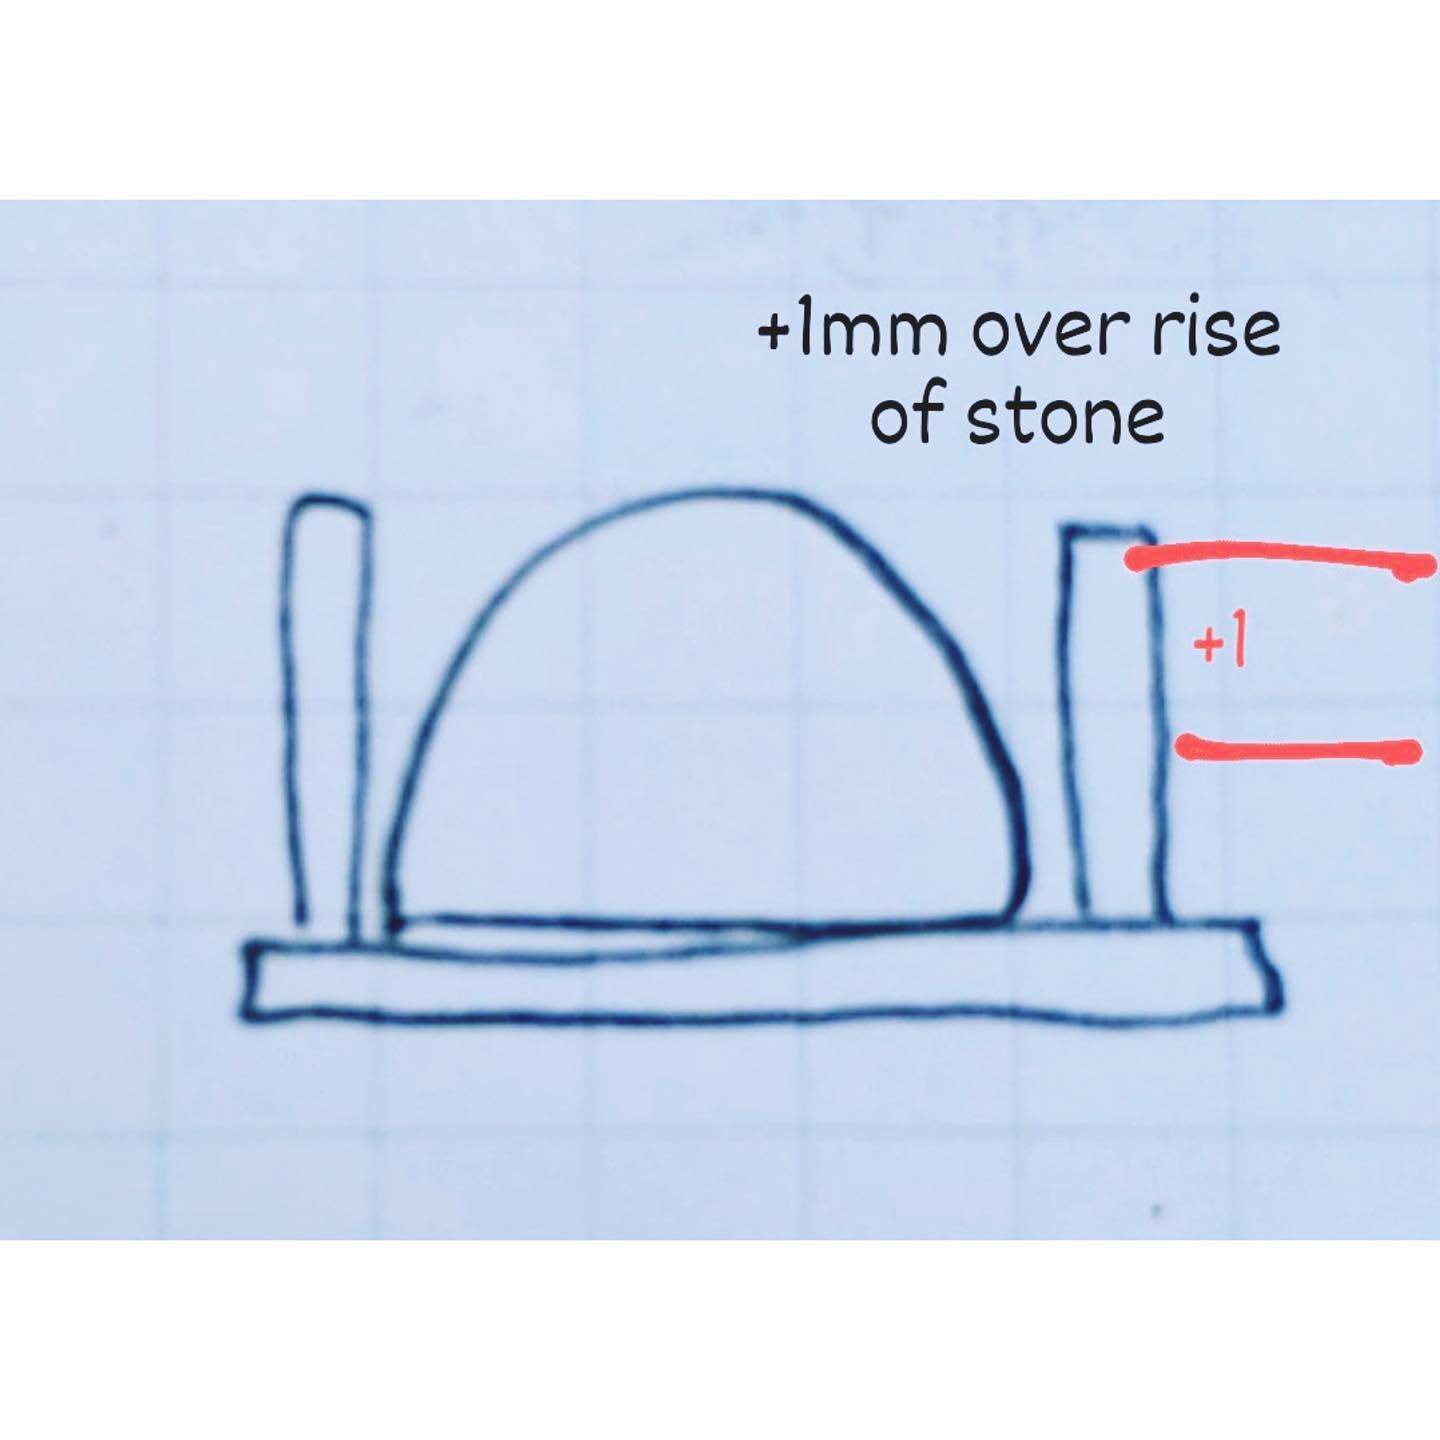
Slides 4-6: As a rule of thumb I add 1mm of height to my regular bezels above the rise. That would look like 1mm add'l + 0.5mm rise =1.5mm, I stock 1x2mm wire, so I'd round up and use that. Tapered, I add 1mm for the height above the rise and one 1mm to emphasize the taper below the stone, 1mm add'l +1mm below +0.5mm rise= 2.5 then rounded to my stock 1x3mm wire. Step, I use 1x1mm square wire below my stone, the math would be the same as the tapered 1mm add'l +1mm step+0.5mm rise= 2.5mm rounded to 3mm.
I would adjust my calculations accordingly rounding up to the nearest whole number for various rises. In the world of jewelry sometimes a tenth of a mm matters, & sometimes it doesn't, but that's a decision to be made once you've got accurate measurements! I often say, you have to learn the rules, to know which ones can bend.
When I've finished shaping my bezels with a half round plier and soldering them to the other elements, I file a 45* chamfer to the outside edge of my heavy bezels, this allows for an easier setting process with a hammer and punch, you can see that pointed to on the left side of slide 3.” Thanks for sharing! #bezelsetting

Slide 1: I'm showing an @ottofrei steel ruler squared against my cab on my bench pin. The rise is the height that the stone goes at 90* before arcing away from the ruler towards the dome. I lean down and get my eyes level to read this. The rise is my base measurement & can range between 0.5 - 2.5mm.
Slide 2: A zoom in of where the cab touches the ruler: approx 0.5mm of rise.
Slide 3: Regular bezel- when you're simply soldering your bezel to a back plate, I use 20g sheet metal.
Tapered bezel- used in tandem with a bezel block as a design element or setting faceted stones.
& Step bezel- when there is a square wire soldered to the bottom edge of your bezel, to show off a stone, set a cab with a belly, or to use less metal.
Slides 4-6: As a rule of thumb I add 1mm of height to my regular bezels above the rise. That would look like 1mm add'l + 0.5mm rise =1.5mm, I stock 1x2mm wire, so I'd round up and use that. Tapered, I add 1mm for the height above the rise and one 1mm to emphasize the taper below the stone, 1mm add'l +1mm below +0.5mm rise= 2.5 then rounded to my stock 1x3mm wire. Step, I use 1x1mm square wire below my stone, the math would be the same as the tapered 1mm add'l +1mm step+0.5mm rise= 2.5mm rounded to 3mm.
I would adjust my calculations accordingly rounding up to the nearest whole number for various rises. In the world of jewelry sometimes a tenth of a mm matters, & sometimes it doesn't, but that's a decision to be made once you've got accurate measurements! I often say, you have to learn the rules, to know which ones can bend.
When I've finished shaping my bezels with a half round plier and soldering them to the other elements, I file a 45* chamfer to the outside edge of my heavy bezels, this allows for an easier setting process with a hammer and punch, you can see that pointed to on the left side of slide 3.” Thanks for sharing! #bezelsetting
Buy Now
More tips
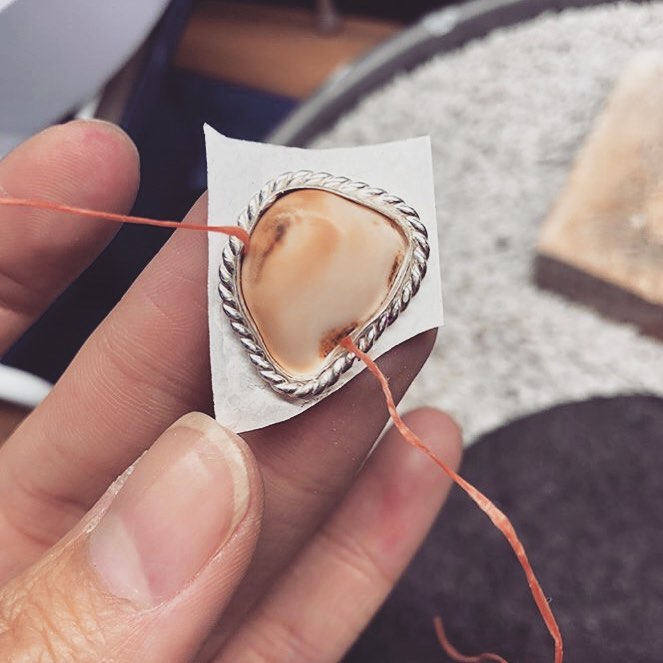
This is an awesome technique, as shown by jeweler @earth_to_chandra for not getting a stone stuck in a bezel. Simply thread some floss underneath...
More →
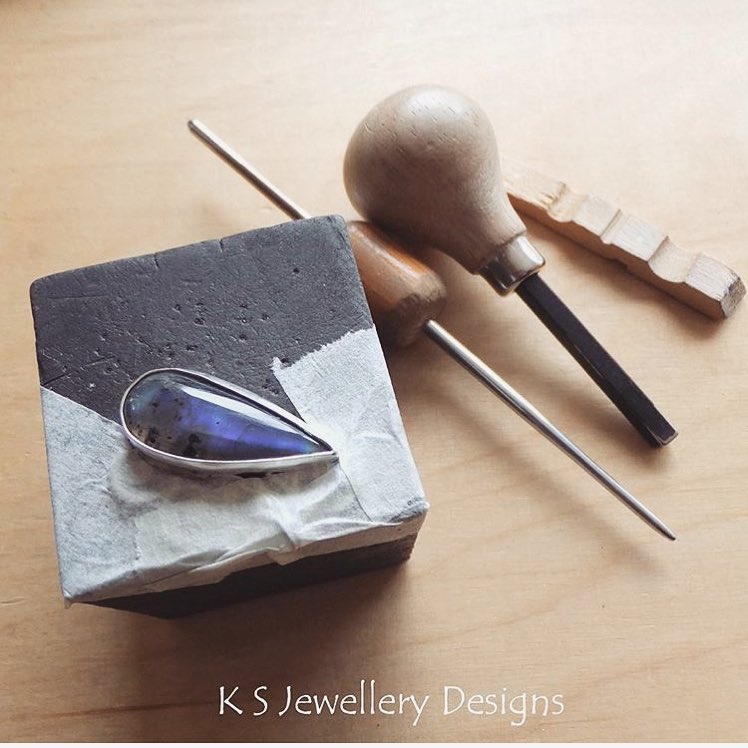
Love this post from jeweler @ksjewellerydesigns which has some great stone setting tips - “I have started to set the labradorite cabochon in my...
More →Thank you to every last one of you that responded to my story yesterday (over 50 messages 🙏🏻😘💕) to help a member of our community fit a bezel on a...
More →