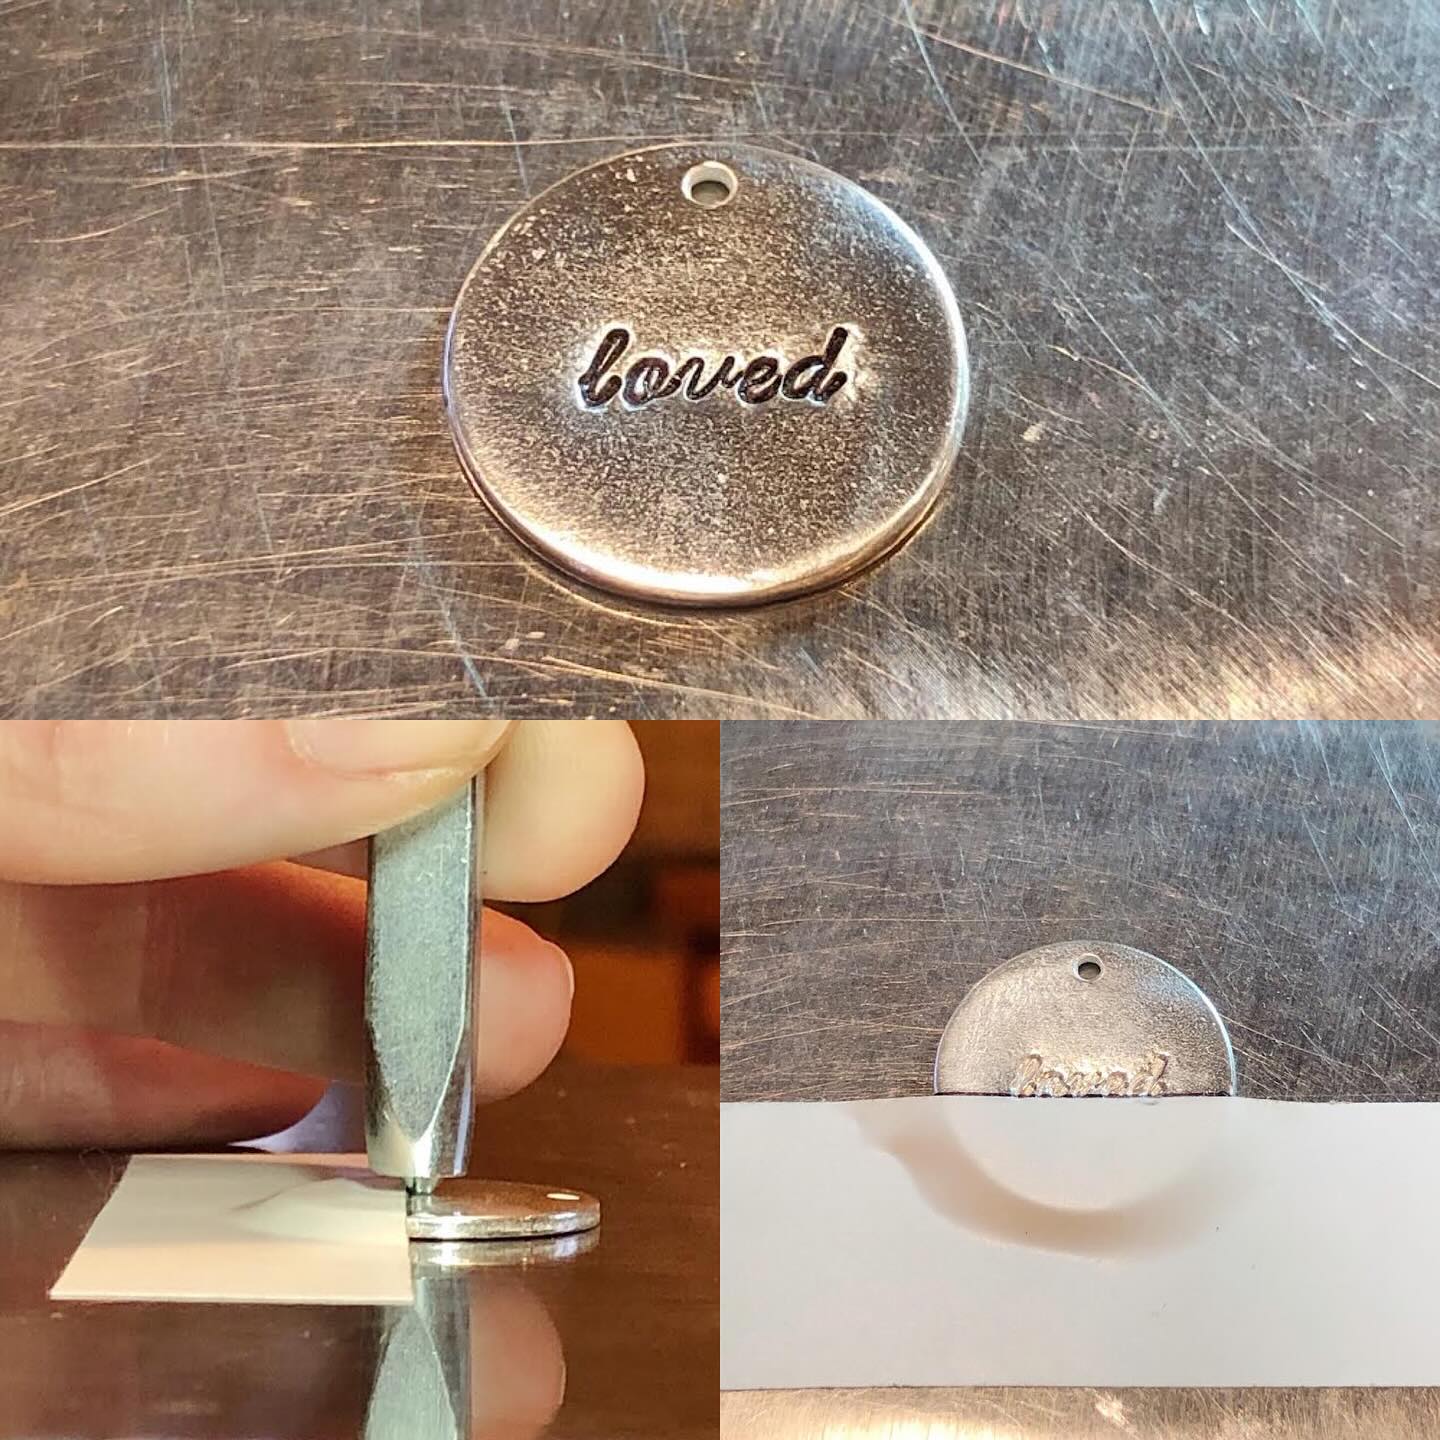
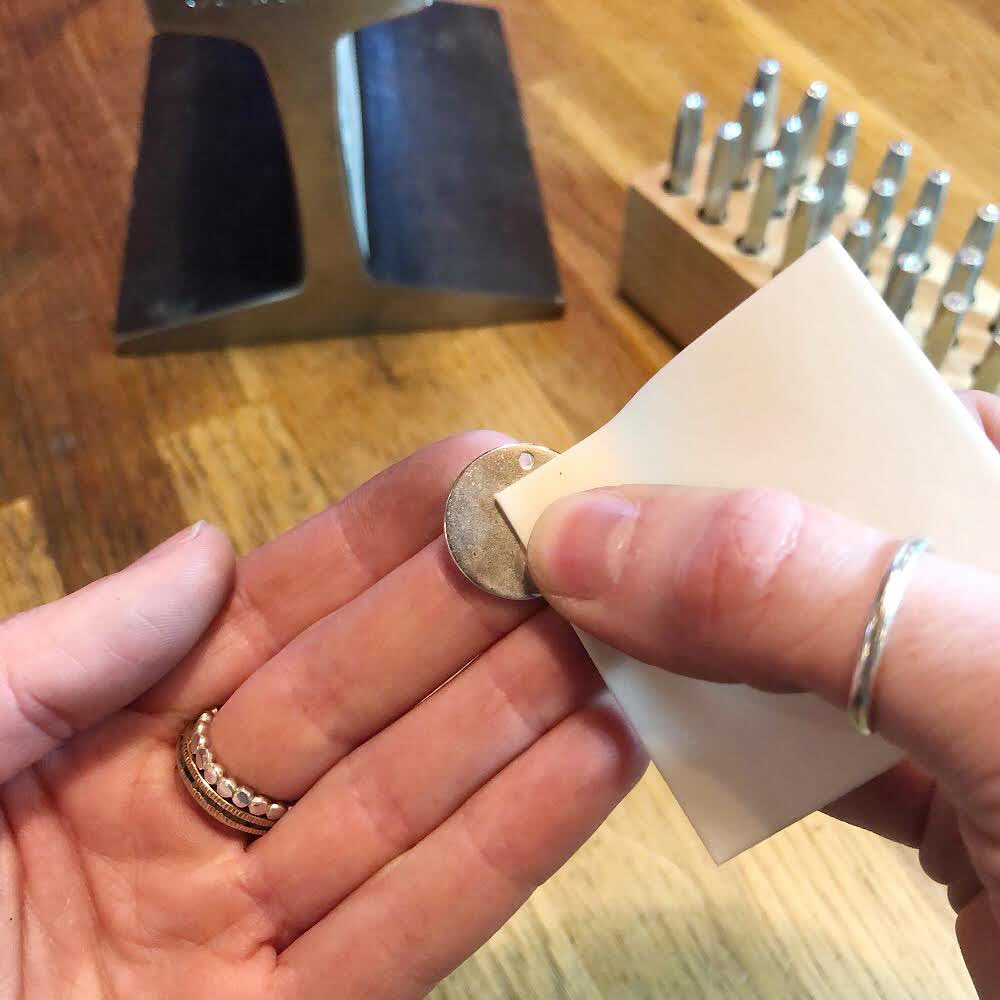
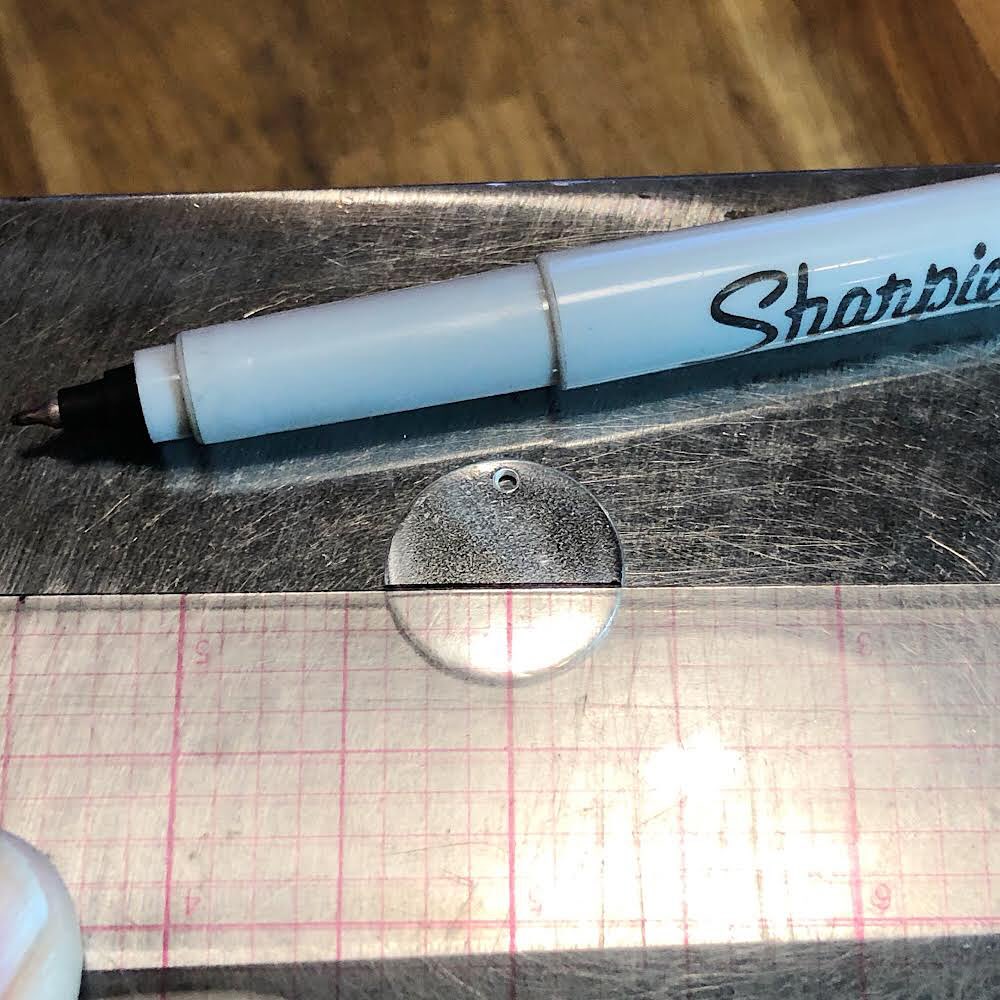
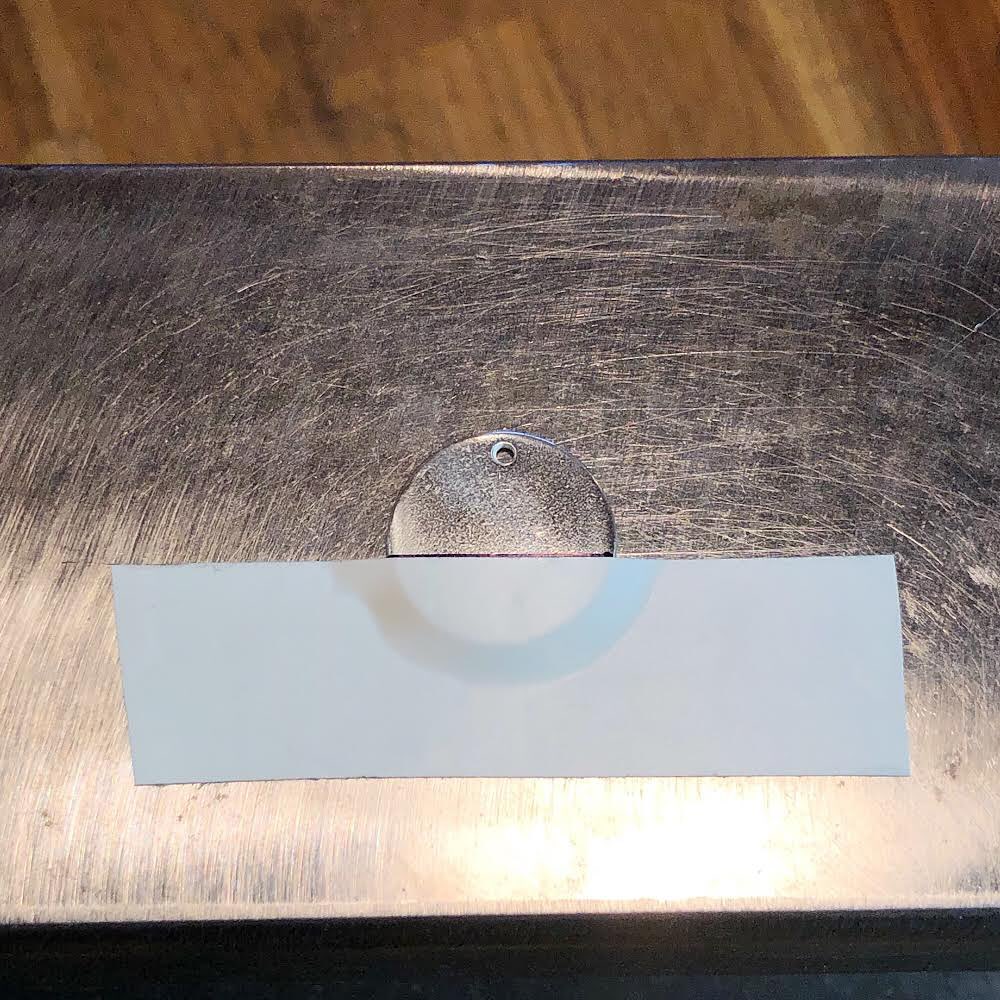
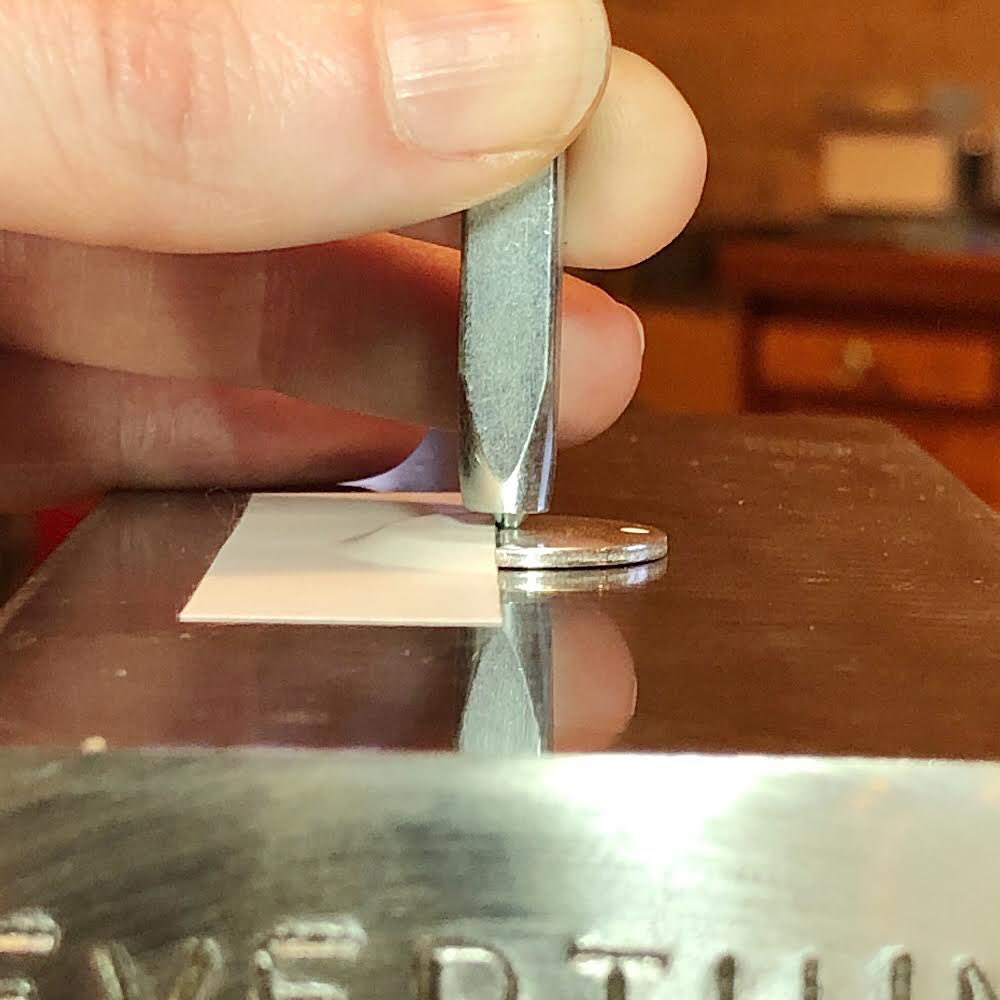
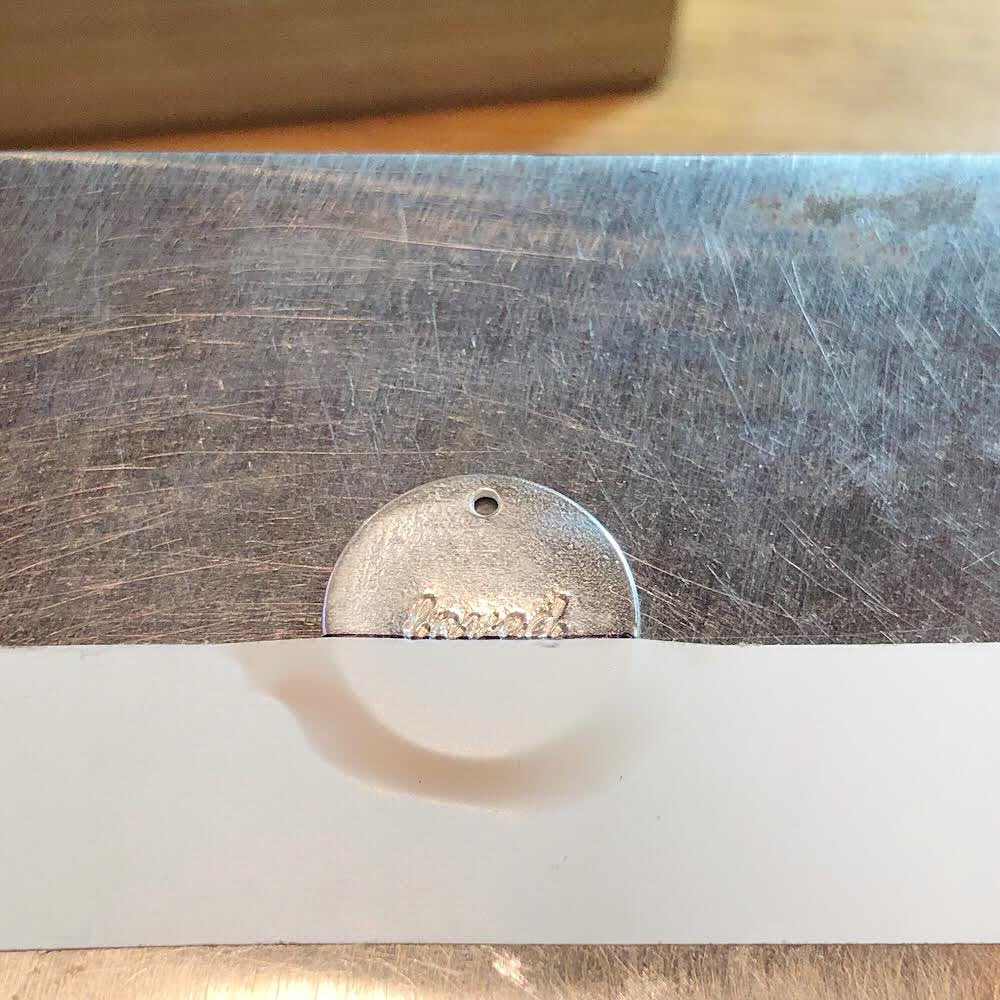
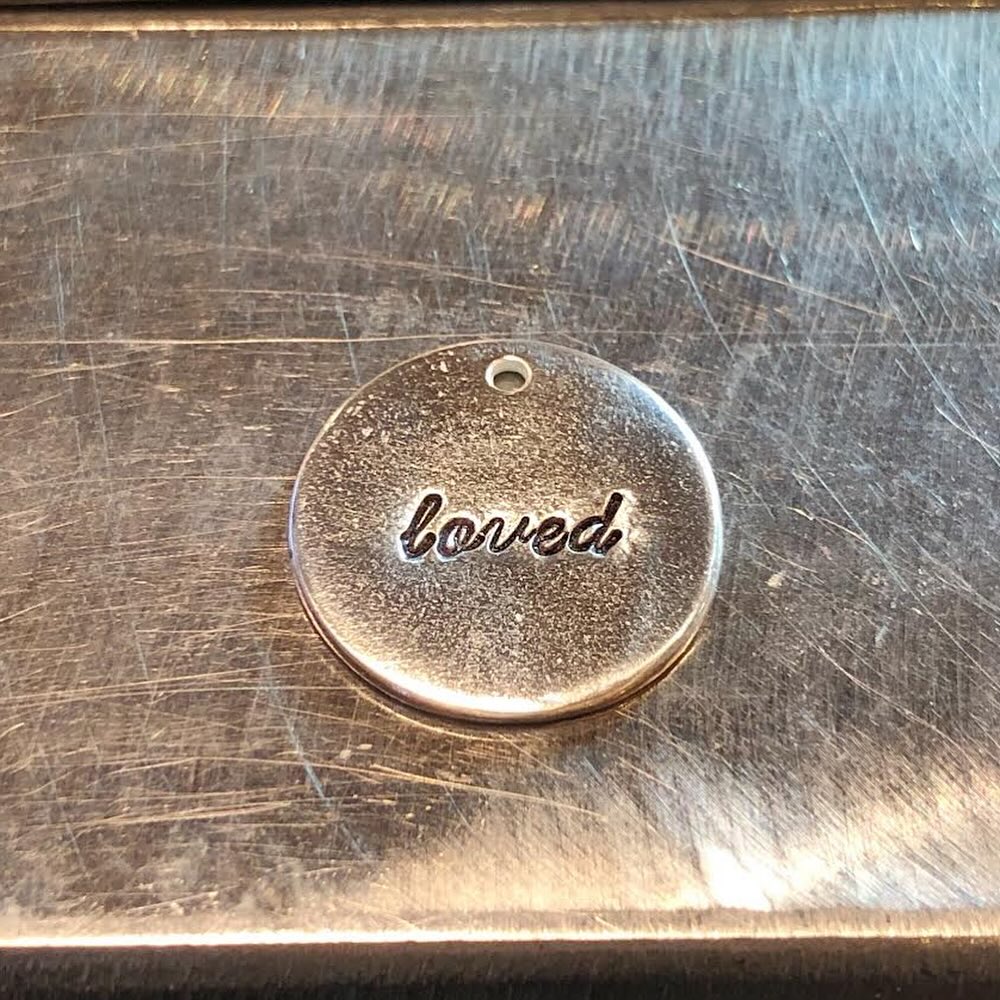
Have to reshare this stamping tip from @everthine_jewelry - “We all thought that metal stamping would be easy, right?! Then you tried to stamp a word... your letters were all over the place, they almost seemed to be dancing. Here is how I get straight words with even spacing between each letter every time. The second images are the tools you'll need to stamp straight. Anvil or bench block, letter stamp set, a hammer, fine tip felt marker, electrical tap, scissors, Pro Polish Pad, ruler and your choice of metal. Start by polishing your metal with the Pro Polish Pad until it has a shiny reflective surface. Using the ruler and fine point marker create a straight line where you would like the bottom of your letters to be. Cut a small strip on electrical tape and place it slightly below your marker line, while also taping the blank down to your anvil/bench block. I like to start stamping the word in the middle of the word, centered on the metal. This insures that the word will be centered. For example, if you're stamping the word LOVED, you would start by stamping the V in the middle, and then work to the left and right of the V. To begin, lightly drag the stamp on the surface of the metal from above the tape until the letter bumps up against the tape. This will insure you stamp your letters straight. In addition use the reflection in the metal (created by polishing it) to assist with your left to right placement. My last tip is to get your eyes and stamping surface to the same height. For years I hunched over my bench block unable to see the stamp. I now stamp on an anvil at eye level and can see the side of the stamps design instead of looking down at the shank. It makes a world of difference. Have fun stamping! Tools and materials are from @beaducation. Anvil from @trackanvil.” Thank you so much for sharing this with us! This community continues through folks generously sharing and submitting tips. 🫶 #stampingtips #stampingtipoftheday #jewelrymakingtipoftheday